ON THIS PAGE
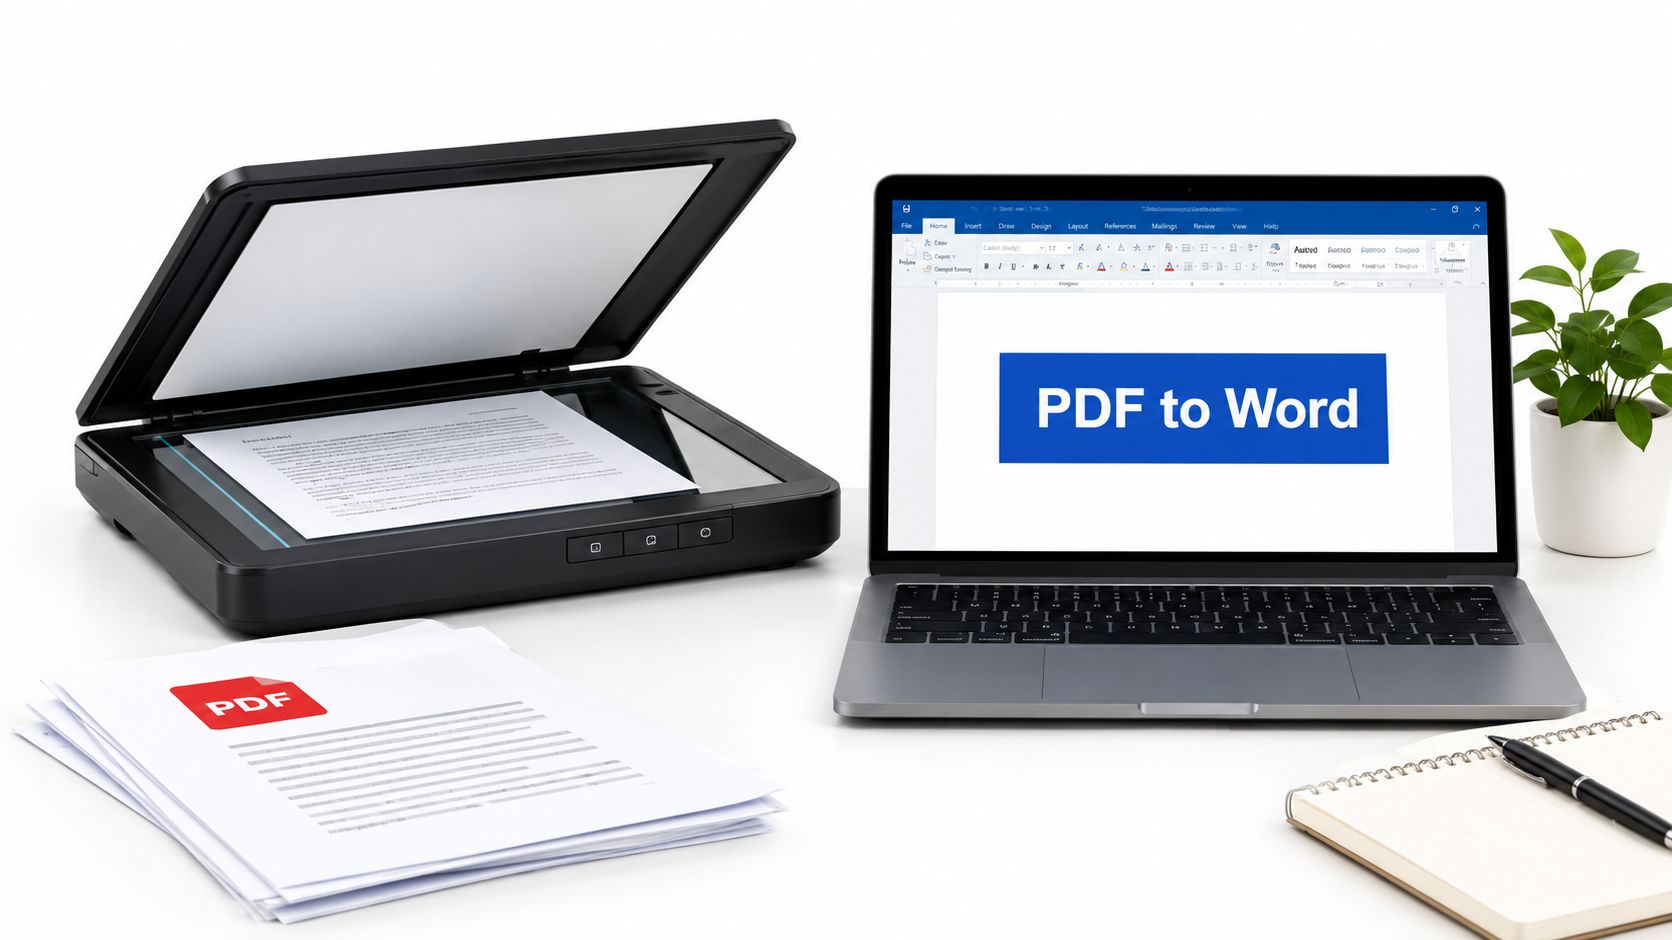
You can convert a scanned PDF to Word, but the reliable method has two steps: improve the scan first, then run OCR before exporting the result as a DOCX file. OCR turns the letters inside a page image into editable text, while a direct conversion without OCR may produce a Word file that still contains only pictures.
If you're staring at a scanned contract, old form, receipt, or class handout and nothing happens when you try to select a sentence, the file is image-based. Follow the workflow below to create an editable document and check it before you share it.
Table of Contents
- Why Scanned PDFs Need OCR Before Editing
- A Practical Browser Workflow for Scanned PDF to Word
- How to Check the Output and Spot Conversion Errors
- Preparing the Scan So OCR Has Less Work
- When a Rescan Beats Another Conversion Attempt
- Tricky Scans and How to Handle Them
- Your Conversion Checklist and the Next Step
Why Scanned PDFs Need OCR Before Editing
A scanned PDF is usually a stack of page photographs. You can see the words, but the file may not contain letters that a computer can select, search, or edit. That's why clicking a line of text does nothing and why copying a paragraph often produces no result.
OCR, or optical character recognition, analyzes the image and identifies the letters, numbers, and symbols it contains. It then creates machine-encoded text that a Word document can hold. Adobe explains that a paper document scanned to PDF contains image data, and that OCR is the step that makes the text selectable and searchable through its explanation of recognizing text in scanned PDFs.
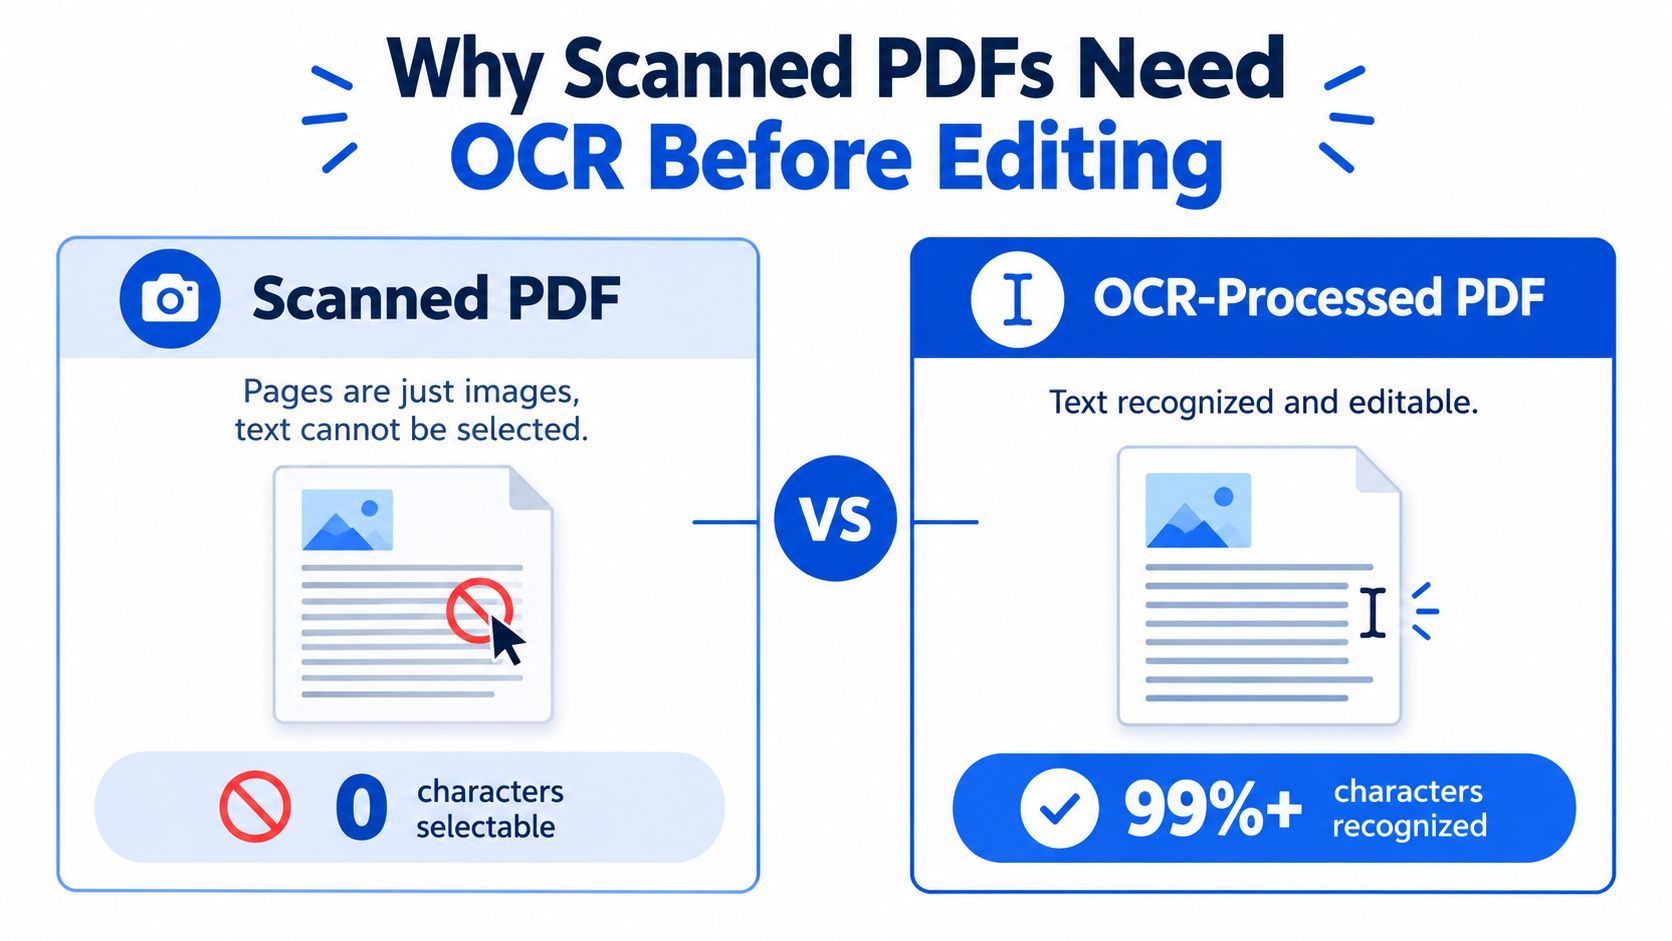
Image content versus editable text
Without OCR, a PDF-to-Word conversion may just place each scanned page inside a DOCX file as an image. The page may look unchanged, but you still won't be able to correct a spelling error, search for a name, copy a clause, or change a date.
With OCR, Word receives text objects instead of only page pictures. You can edit the words, although the result may not preserve the original font, spacing, columns, tables, or page breaks perfectly. OCR can also confuse similar characters, such as a letter and a number, especially when the original scan is faint or tilted.
The idea behind reading text from images has a long history. Austrian engineer Gustav Tauschek received a patent for a “Reading Machine” in the late 1920s, while office scanning and digitization expanded during the mid-1990s and early 2000s. PDF became an open international standard in 2008 through ISO 32000-1, which helped establish it as a common document format across organizations. You can explore that background in this overview of content conversion and digital document workflows.
For a plain-language explanation of how image recognition works, this guide by Font Checker Pro provides useful context. If you only need the words rather than a fully formatted DOCX, a PDF to text converter guide can help you choose a simpler output.
A Practical Browser Workflow for Scanned PDF to Word
A browser workflow keeps the job simple. You do not need to install desktop software, manage extensions, or build a complicated setup. PDFKing's browser tools are 100% free, include no watermark, and require nothing to install.
1. Inspect the original PDF
Open the PDF and try to select a sentence. If you cannot place a text cursor or copy a word, the page is probably an image and needs OCR. First check the scan itself. Pages that are sideways, blurry, dark, or cut off may need cleaning or rescanning before conversion. Repeating OCR on a poor image usually repeats the same mistakes.
Close the original before uploading so you do not edit or overwrite it. Create a clear destination folder, such as “Converted Word Files,” instead of leaving the result among unrelated downloads.
2. Prepare the conversion settings
Open the PDFKing PDF to Word converter, then upload the scan. Before starting, check these options:
- OCR language: Choose the language shown on the page. A mismatched setting can turn familiar words into strange characters.
- Page range: Convert only the required pages if the file contains blanks or unrelated material.
- Output format: Choose Word or DOCX when you need editable text.
- File name: Use a clear name such as
lease-agreement-ocr.docxinstead of an automatic file name.
If the scan is readable, proceed with OCR. If text remains faint or tilted after basic preparation, a new scan may save time. OCR can recognize only what the image makes visible.
Do not refresh the browser while processing. A refresh can interrupt the upload or make the completion status unclear.
3. Download and save the result
Download the DOCX after processing finishes. Open it in Microsoft Word, Word Online, or Google Docs, then save it immediately as an editable working copy. This confirms that the file opens and gives you a stable version for later corrections.
The DOCX may be larger or smaller than the PDF. File size does not show whether the conversion succeeded. Click inside a paragraph, search for a visible word, select a sentence, and change one character to confirm that the text is editable.
Practical rule: A successful download is not the same as a successful conversion. Test whether the words are editable before you format the document.
How to Check the Output and Spot Conversion Errors
Treat the DOCX as a draft until you've compared it with the original PDF. Place both files side by side. Start with the first page, then inspect pages containing tables, columns, footnotes, headers, page numbers, signatures, or stamps.
OCR often recognizes the general wording while missing the details that matter most. A contract may have the right sentences but a wrong date. An invoice may contain readable descriptions but an incorrect amount. A form may preserve the labels while shifting the answers into the wrong cells.
A practical review order
Read the converted file against the source in a consistent order:
- Check the first page for the title, names, dates, and opening paragraph.
- Search for numbers and compare them visually with the scan.
- Inspect every table and multi-column area.
- Review headers, footers, page numbers, and footnotes.
- Look for handwriting, stamps, signatures, accents, and special symbols.
- Read the final page completely instead of assuming the formatting is intact.
Use Word comments for questions and a bright highlight color for confirmed corrections. This separates text you still need to investigate from text you've already fixed.
| Error Pattern | Where It Usually Appears | Quick Fix |
|---|---|---|
| Letters mistaken for numbers | Dates, account numbers, reference codes | Compare each character with the scan |
| Broken ligatures or joined letters | Older fonts and tightly printed text | Replace the affected word manually |
| Missing accents or symbols | Multilingual text, names, measurements | Check the original character by character |
| Merged table cells | Forms, invoices, schedules, financial pages | Rebuild the table structure in Word |
| Ghost text | Stamps, watermarks, bleed-through | Remove the extra text after comparing it |
| Lost reading order | Columns, sidebars, headers, and footnotes | Move paragraphs into the correct sequence |
A clean layout comparison can also help when you need to verify whether text moved between pages. PDFKing's guide to comparing two PDF documents covers a related review task. The important point is simple: don't trust a document just because it looks readable. A single overlooked page can contain several silent errors.
Preparing the Scan So OCR Has Less Work
OCR reads pixels. It doesn't understand a page the way you do, so a tilted line, dark edge, or faint character can change what the engine sees. Preparing the scan before conversion reduces the amount of correction you'll need afterward.
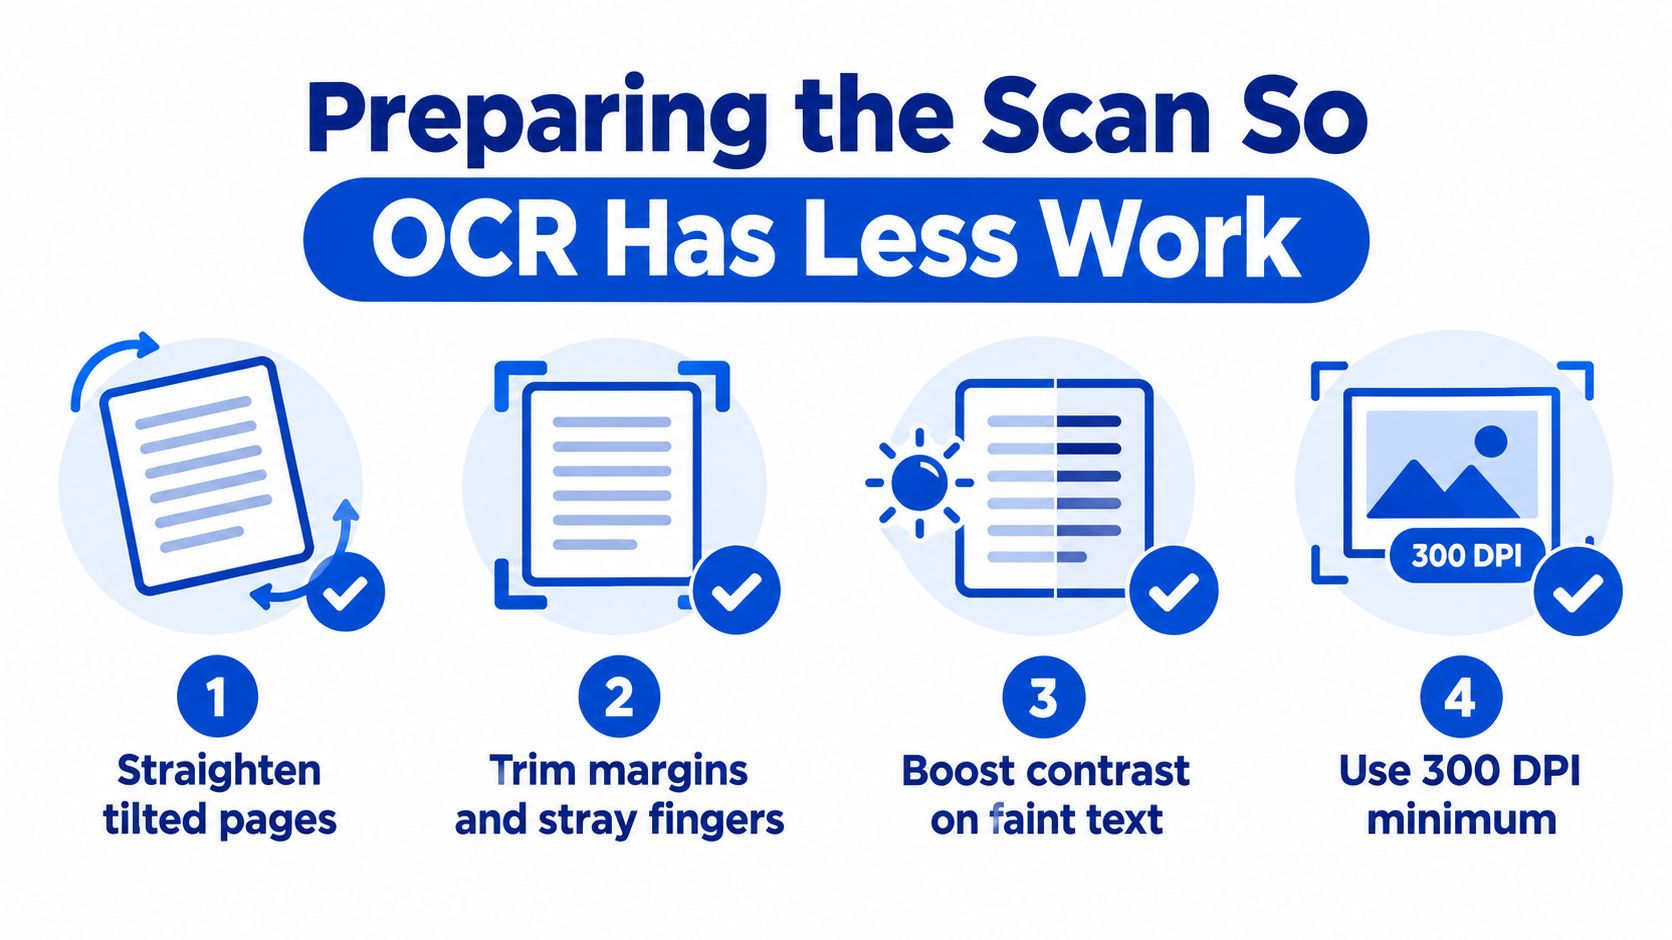
For ordinary printed documents, 300 DPI is a practical OCR baseline, as explained in this guide to scan resolution for Microsoft Word OCR. Lower-resolution scans may not provide enough detail to distinguish similar characters such as rn and m, or l, 1, and I.
Four useful cleanup moves
- Deskew tilted pages. Straighten lines that run uphill or downhill. A slanted invoice can cause the engine to misread rows and separate words incorrectly.
- Crop unwanted edges. Remove scanner borders, fingers, dark margins, and nearby objects. These distractions can be interpreted as marks or characters.
- Rotate pages correctly. Turn sideways or upside-down pages before OCR. A rotated page may produce a jumble of symbols instead of readable sentences.
- Improve contrast and resolution. Make faint text easier to distinguish from the background. Preserve color when color carries meaning, such as highlighted instructions or colored stamps.
Preview before you convert
Review the cleaned file page by page. Don't spend time processing a page that's already sharp, upright, and easy to read. Focus your preparation on pages with shadows, faint type, skew, uneven borders, or a mixture of orientations.
Cropping can be especially useful when a scan includes wide blank margins or a dark scanner edge. Use the PDFKing PDF crop tool to remove those areas before OCR. The goal isn't to make the scan visually perfect. It's to give the recognition engine a clear page with fewer distractions.
When a Rescan Beats Another Conversion Attempt
Repeated OCR attempts can't recover information that the scanner never captured clearly. If the original page is blurry, heavily tilted, washed out, or affected by bleed-through, changing the conversion settings may only produce a different set of mistakes.
A rescan takes effort at the beginning, but it can reduce the editing pass at the end. Consider rescanning when:
- The pages are visibly slanted.
- The original text is faint or blurred.
- You're working from photographs rather than flat scanner pages.
- Ink from the reverse side shows through heavily.
- Many words are wrong on the same page after the first OCR pass.
For a new scan, use 300 DPI, grayscale for ordinary black-and-white text, and a flat scanner lid. A dark backing sheet can help prevent light backgrounds from showing through thin paper. Keep the page aligned and remove dust or loose objects before scanning.
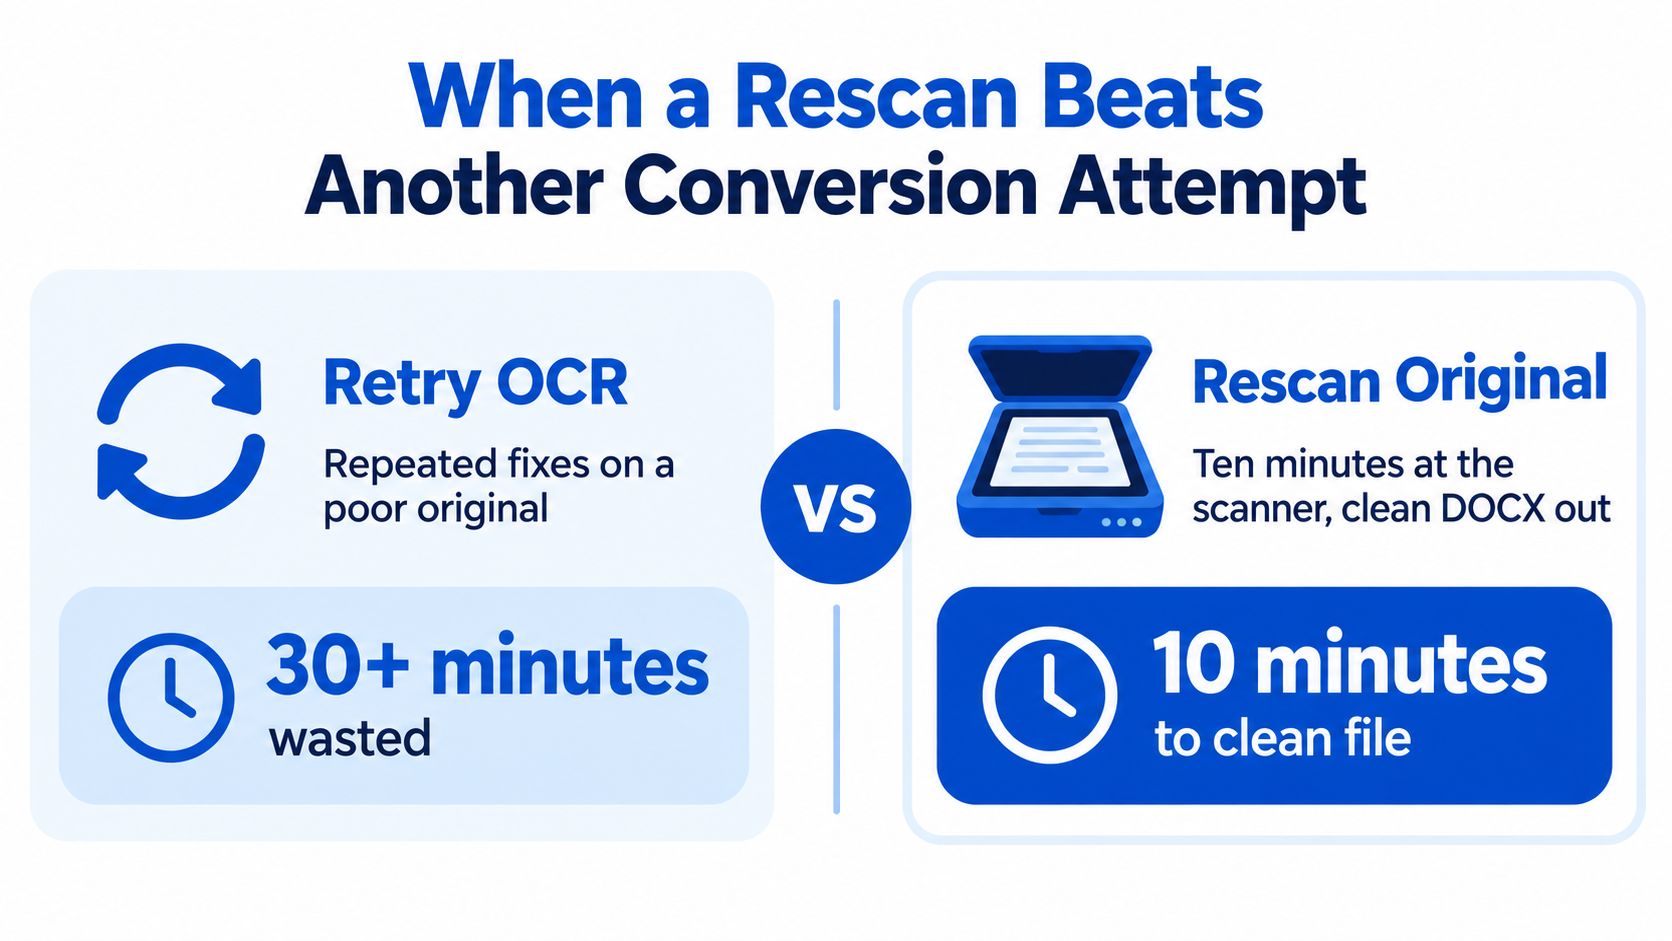
If more than a handful of words per page are wrong after the first OCR pass, stop patching the text and improve the source image.
The right choice depends on the document. A clean, straight, typed page is a good candidate for conversion and proofreading. A poor scan with repeated errors is a rescan candidate. Manual correction makes sense for an isolated mistake, not for every line on every page.
Tricky Scans and How to Handle Them
Some documents need more than ordinary OCR. The problem isn't always the conversion tool. Sometimes the page contains information that standard text recognition cannot interpret reliably.
Handwritten notes are a common example. Printed OCR may recognize neat block writing, but cursive notes, signatures, and rushed annotations can become unreadable text. Transcribe important handwriting manually, and keep the original image nearby so you can confirm names, dates, and instructions.
Stamps, signatures, and watermarks also create noise. OCR may return fragments of a stamp as random words or place a watermark in the middle of a paragraph. If the mark isn't part of the text you need, crop it out before conversion when possible. If it carries legal or historical meaning, retain the original PDF and verify the converted file against it.
Layout problems need layout fixes
Mixed-orientation pages should be rotated in the preview step. If the file contains many different orientations, split the pages into smaller groups and process them separately. This makes it easier to use the correct direction and language settings for each group.
Multilingual scans require an OCR tool that supports the languages present on the page. An English-only setting can damage accented characters and non-Latin scripts. Select all relevant languages when the tool allows it, then inspect names and uncommon words carefully.
Tables deserve special attention. OCR may recognize the words while losing merged cells, row boundaries, or column order. Mark those tables during review and rebuild them manually in Word rather than assuming the visual arrangement survived.
A page that's mostly handwriting, stamps, or a complex table may be faster to retype than to salvage.
Keep the original scan as the authority. The DOCX is your editable working copy, not a replacement for the source record.
Your Conversion Checklist and the Next Step
A scanned PDF usually needs two fixes before it becomes a useful Word file. First, the scan has to be clean enough for OCR to read. Then OCR can turn the page image into editable text. Treating those as separate steps helps you avoid the common mistake of blaming the converter when the scan itself is the problem.
Use this sequence when you need to turn a scanned PDF into Word:
- Inspect the file. Try selecting text and mark the pages that are image-only.
- Check the scan quality. Look for blur, skew, faint text, bleed-through, shadows, and sideways pages.
- Clean the pages. Deskew, crop, rotate, and improve contrast where needed.
- Check the resolution. Use a clear scan at a practical OCR resolution, with 300 DPI as the baseline for ordinary printed documents.
- Choose the language. Match the OCR language to the actual text, especially for multilingual files.
- Select the output. Choose DOCX when you need editable Word content.
- Run OCR and convert. Upload the prepared scan and wait for processing to finish.
- Save the result. Open the downloaded file in Word or a compatible editor and save a working copy.
- Compare side by side. Check names, dates, amounts, tables, columns, headers, footnotes, and page numbers.
- Clean the DOCX. Repair reading order, rebuild tables, remove ghost text, and correct characters that OCR misread.
- Rescan when needed. If errors appear throughout a page, improve the source instead of correcting every line manually.
A clear, printed page can turn into a usable draft quickly. Pages with multilingual text, handwriting, stamps, signatures, or complex tables need slower review because OCR has more to sort out. If formatting matters, this guide to converting PDF to Word without losing formatting can help you plan the cleanup stage.
Frequently asked questions
Can I convert a scanned PDF to Word without OCR?
Not reliably. Without OCR, the Word file may contain page images instead of editable text. OCR is what lets the computer recognize letters before Word can edit or search them.
Why is my converted Word document blank?
The source PDF may contain image-only pages, and the conversion process may not have recognized the text layer. Try OCR with the correct language selected, then check whether the scan is sharp, upright, and high enough quality.
Will OCR preserve the original formatting?
OCR can preserve parts of the layout, but tables, columns, footnotes, headers, and unusual spacing often need manual adjustment. Always compare the DOCX with the original PDF.
What scan resolution should I use?
For ordinary printed documents, 300 DPI is a practical minimum, according to this OCR resolution guidance. A clearer scan gives the recognition engine more detail to work with.
Can OCR read handwriting?
It may recognize some clear handwriting, but cursive notes and signatures are unreliable with standard OCR. Transcribe important handwritten content manually and verify it against the original.
Should I rescan or fix the Word file?
Rescan when errors appear across an entire page or when the source is blurry, tilted, faint, or affected by bleed-through. Fix the DOCX manually when the scan is clear and only isolated characters or layout elements need correction.
PDFKing provides a browser-based PDF to Word tool for turning PDF files into editable DOCX documents, with 100% free use, no watermark, and nothing to install. Prepare the scan first, then run the file through the PDFKing PDF to Word converter and compare the result with the original before sharing it.