ON THIS PAGE
You've found the perfect photo in a report, but copying it gives you a blurry screenshot, a whole page, or nothing at all. How to extract images from PDF depends on what the file contains: an embedded raster image, a scanned page, or vector artwork.
For a quick page image, convert the PDF to JPG or PNG. For the original embedded asset, inspect and extract the PDF's image objects instead. The difference affects quality, transparency, dimensions, metadata, and accessibility.
Table of Contents
- What Kind of Image Is Hiding in Your PDF
- Extracting Images Online in a Few Clicks
- Using Preview on Mac and Acrobat on Windows
- Batch Extraction From the Command Line
- Picking the Right Format, Resolution, and Color Settings
- Why Your Extracted Images Look Wrong and How to Fix It
- Quick Answers to the Questions People Ask Next
What Kind of Image Is Hiding in Your PDF
Before choosing a tool, identify what you're trying to recover. A PDF isn't necessarily one flat picture. It can contain separately encoded photos, text objects, vector paths, fonts, metadata, masks, and page-layout instructions. Adobe introduced PDF in 1993, and PDF 1.0 was designed to preserve text, fonts, graphics, and visual appearance across operating systems and applications. Adobe's PDF accessibility guidance{target="_blank"} provides useful background on that original document-container design.
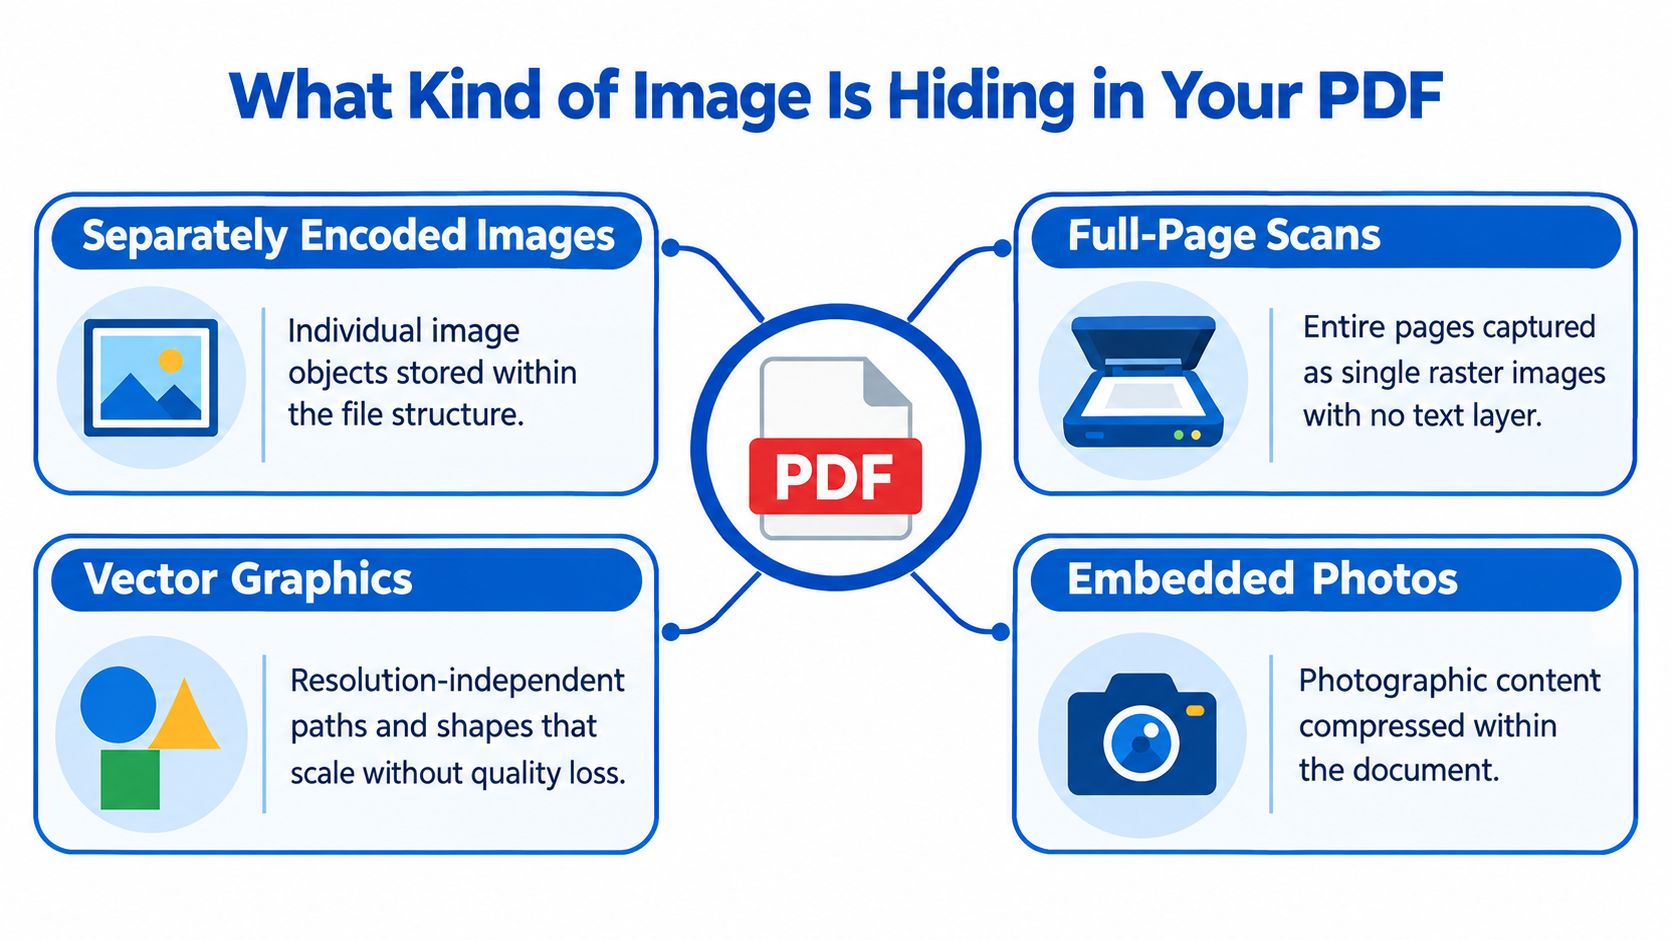
Embedded raster images
A photograph, screenshot, or bitmap diagram may exist as an independent image object. This is the cleanest case. A native extractor can often recover the stored pixels without rendering the surrounding page. The output might retain JPEG, JPEG 2000, JBIG2, or CCITT encoding, depending on how the PDF was created.
Scanned pages
A scanned document usually stores each page as one large raster image. There may be no selectable text layer underneath. If you extract the image object, you'll probably receive the entire page, not each photograph or paragraph separately. To isolate a visual, crop the page. To recover text, use OCR, which analyzes the page image and can add a searchable text layer while keeping the original page image intact, as described in this guide to scanned PDFs and OCR{target="_blank"}.
Vector graphics and composed visuals
Charts, logos, diagrams, and illustrations may be built from mathematical paths rather than pixels. A raster extractor won't recover these as standalone photos. Render the page or a selected region instead. The result will be a new raster image whose sharpness depends on the rendering resolution.
Accessibility adds another decision. A meaningful PDF image may have an /Alt entry, and complex charts may need a data table or extended description. A screenshot removes that document structure, so review AI headshot studio articles{target="_blank"} only as a separate visual-content resource, not as a substitute for preserving PDF context. If the file is unexpectedly large, why your PDF is so big may explain whether oversized images are involved.
Practical rule: Use native extraction for the original asset, page rendering for a visual reproduction, and cropping or OCR for scanned pages.
Extracting Images Online in a Few Clicks
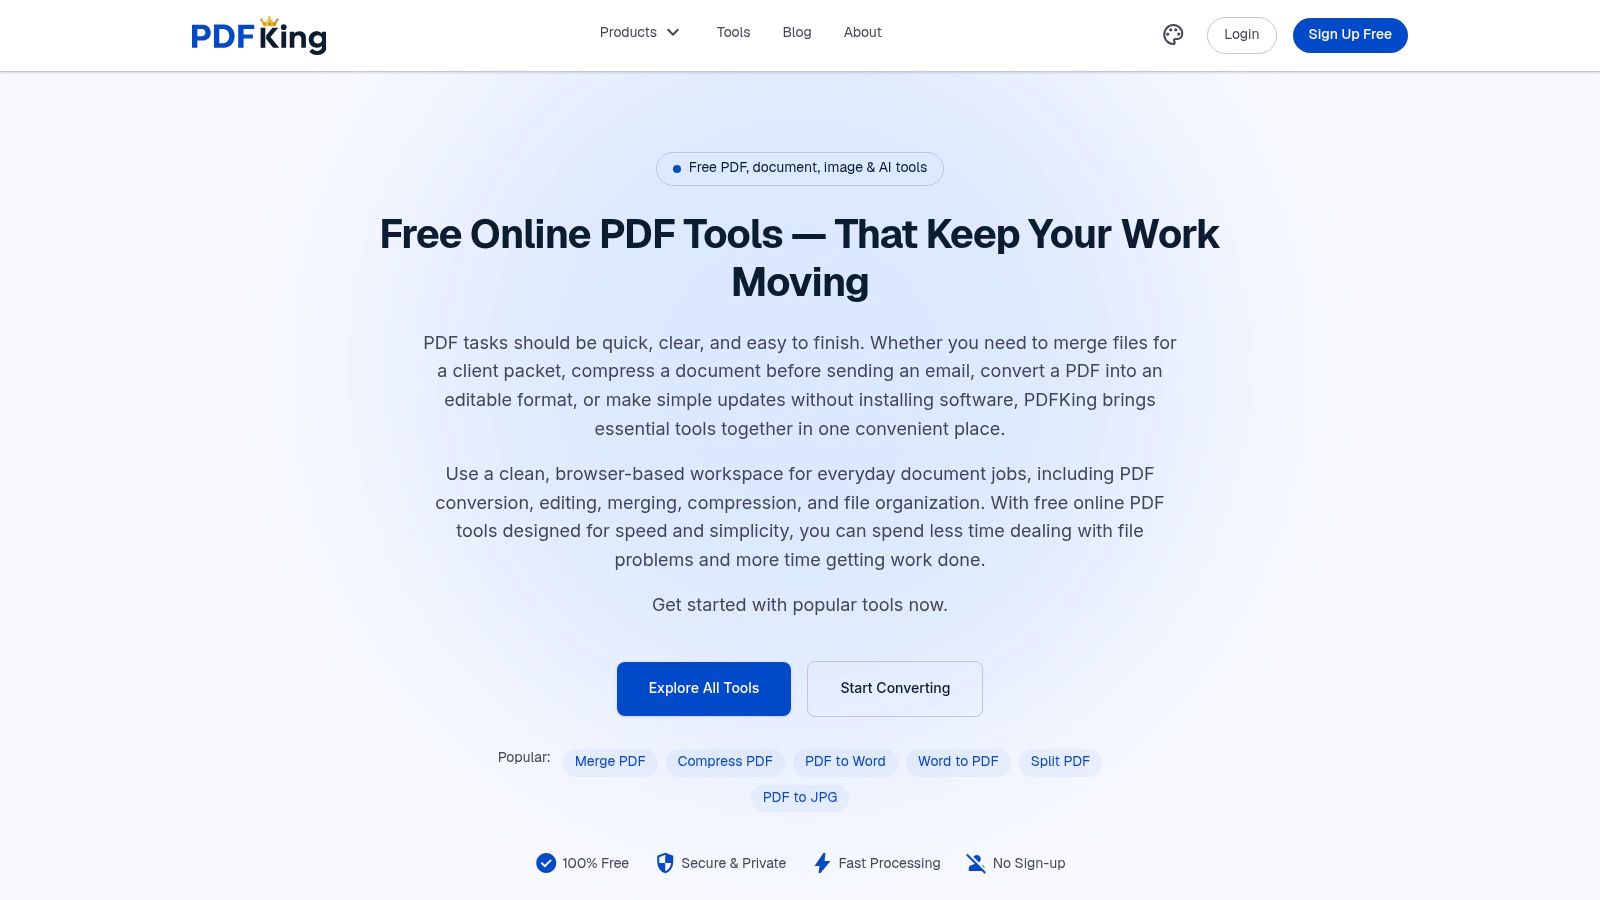
For a quick result, a browser-based converter is usually the least complicated option. PDFKing's PDF to JPG workflow renders PDF pages into image files. That's ideal when you need a page for a slide, a visual reference, a social post, or a crop that doesn't need the original embedded pixels.
Use the browser workflow
- Open the PDF to JPG tool. Start with PDFKing's PDF to JPG converter, which runs in the browser.
- Upload your file. Drag the PDF into the tool or choose it from your device.
- Choose the image output. JPG works well for ordinary pages and photographic content. Use PNG when line art, text, or transparency matters and the tool provides that option.
- Convert the pages. The service creates a rendered image for each PDF page.
- Download the result. For a multi-page document, the files may be packaged together for easier download.
This method gives you one rendered image per page, not necessarily the original photo hidden inside a report. That distinction matters. If a page contains a small photograph surrounded by text, you'll need to crop the converted page. If you need the photograph's native dimensions, use object extraction instead.
Use online conversion when speed and convenience matter. Use native extraction when provenance, original compression, or maximum source quality matters.
PDFKing tools are 100% free, have no watermark, and require nothing to install. Files are processed for the job and aren't stored, which is useful when you're handling client, student, or administrative material. For a separate example of turning still images into a visual sequence, see AI video tour creation{target="_blank"}, but don't confuse that type of media workflow with extracting an original PDF object.
Using Preview on Mac and Acrobat on Windows
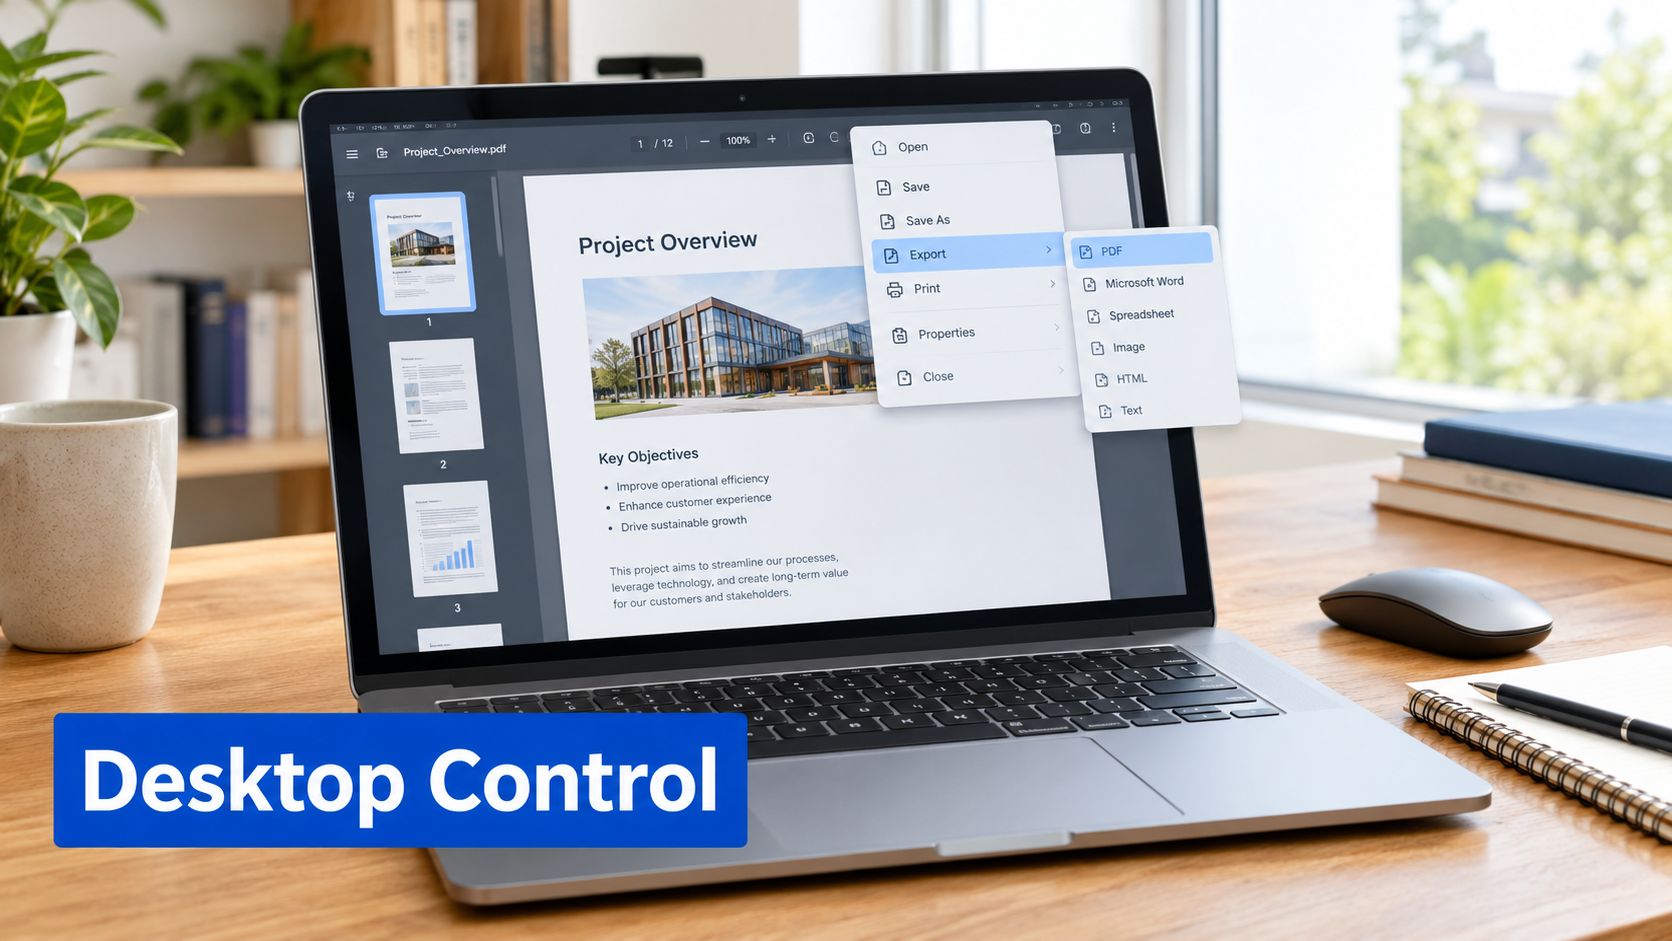
Desktop software gives you more control over export settings, especially when you only have one file to process. The important limitation is that both common workflows generally export a rendered page, not a discrete embedded image.
Preview on Mac
Open the PDF in Preview, then:
- Select the page or region. If you want the whole page, leave the page unselected. If you need a specific visual, use Preview's selection tool to mark the region.
- Open the export command. Choose File, then Export.
- Pick the format. JPEG suits photos. PNG is safer for screenshots, diagrams, text-heavy graphics, and transparency. TIFF can fit archival or print workflows.
- Adjust quality and save. Preview's quality control changes the exported file, so don't leave it at a low setting when fine detail matters.
If you export without selecting a region, Preview produces a page image. If you select a region first, the result can be closer to the isolated visual you need. For related file handling, see how to compress a PDF in Preview.
Acrobat on Windows
In Acrobat, choose Export a PDF, select Image, and then choose JPEG or PNG. Depending on the Acrobat version, export settings can include color space and downsampling controls. Avoid aggressive downsampling when small text, fine lines, or print detail must remain readable.
Acrobat can also be useful for a quick clipboard capture. With the selection tool, click the image, copy it, and paste it into an image editor. That can be faster than exporting a complete page, but it depends on whether Acrobat recognizes the visual as a selectable object. If the artwork is vector-based or assembled from several objects, copying may not produce the clean standalone asset you expected.
Batch Extraction From the Command Line
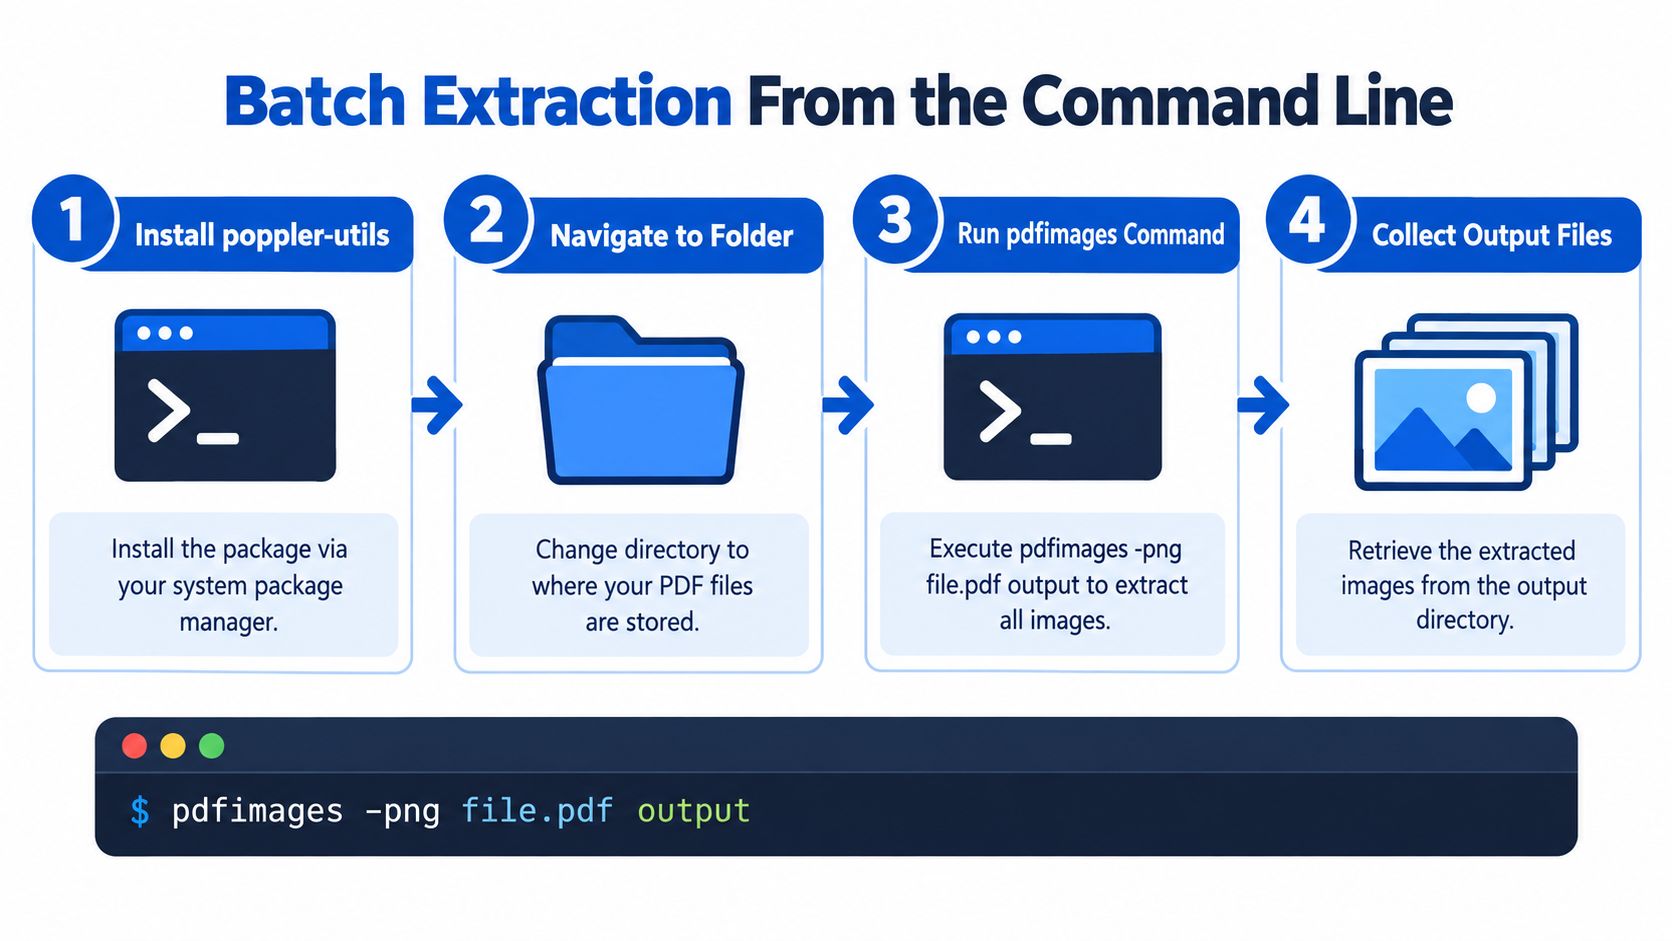
For recurring work, pdfimages is more dependable than manually opening files. It's part of the Poppler utilities and can be used on Linux, macOS through Homebrew, and Windows with an appropriate build. The key is to inventory first and extract second.
Inspect before exporting
Run:
pdfimages -list input.pdf
The inventory reports useful details such as page number, width, height, bits per component, color space, encoding, and compression ratio. That information tells you whether the file contains a large page scan, a small photograph, a monochrome object, or several related objects such as an image and mask.
The command also helps prevent a common mistake: exporting everything and discovering later that the output was low resolution or in an unexpected color mode.
Extract native image data
Run:
pdfimages -all input.pdf output/image
This writes one file for each image object. When possible, -all preserves native JPEG, JPEG 2000, JBIG2, and CCITT encodings instead of decoding and recompressing them. Other content may be emitted as PNG, TIFF, PPM, or PBM, depending on its type and the available options. The Poppler pdfimages documentation{target="_blank"} describes these output behaviors.
To limit extraction to a page range, use:
pdfimages -f FIRST_PAGE -l LAST_PAGE -all input.pdf output/image
Use -png when consistent PNG output is more useful than preserving native formats. That can simplify a downstream pipeline, but it may decode an original compressed stream and change how color or transparency is represented.
A complete extractor may also need to handle images inside Form XObjects and inline images in page content streams. That's why different tools can report different image counts for the same PDF. If you later need to change an extracted format, a workflow such as changing HEIC files to JPG{target="_blank"} can help with compatibility, but conversion should happen after you've preserved the source file.
Picking the Right Format, Resolution, and Color Settings
The extraction method is only half the decision. Format, resolution, color space, and recompression determine whether the result is practical for its next use.
JPEG is usually appropriate for photographs and other continuous-tone images. It uses lossy compression, so opening and resaving a JPEG as another JPEG can reduce quality. If the PDF stores a JPEG and your extraction tool can copy that stream directly, keep the original file instead of transcoding it.
PNG works better for screenshots, diagrams, line art, text-heavy graphics, and images that need transparency. TIFF is useful when an archive or print workflow specifically requires it, but it's often unnecessary for ordinary web or office use. PDF image streams can use different technologies, including JPEG, JPEG 2000, and JBIG2, so two files that look similar on the page may require different handling. ISO's PDF overview{target="_blank"} explains why PDF image behavior is broader than a simple JPEG-in-a-document model.
| Scenario | Best method | Recommended format | Minimum DPI |
|---|---|---|---|
| Single photo from a report | Native object extraction | Keep the source format when practical | Use the source dimensions |
| Chart for a slide deck | Render the page or crop the chart | PNG | Render at a resolution that keeps labels readable |
| Scanned page for OCR | Keep the page image, then run OCR | PNG or TIFF | Use a sufficiently detailed render for character recognition |
| Diagram for a website | Extract if raster, otherwise render the region | PNG | Choose a size that preserves fine lines at display size |
DPI applies most directly to rendering and printing. Native extraction doesn't create extra pixels, upscale a small source, or improve a poorly embedded image. If a source image has fixed dimensions, the safest approach is to avoid additional resampling and then verify the output's pixel width, height, color mode, and file size.
For another raster output option, see how to convert a PDF into BMP. BMP can be useful in specific legacy workflows, but it generally isn't the default choice for web publishing or compact file delivery.
Why Your Extracted Images Look Wrong and How to Fix It
A disappointing result usually reveals something about the PDF structure rather than a broken tool.
- One giant image per page: The file is probably a scan. Keep the page image, crop the desired region, or add OCR if you need searchable text.
- Blurry output: The page was rendered at too low a resolution, or the source itself has limited pixels. Rendering at a higher resolution can preserve more detail, but it can't restore information that was never stored.
- Missing transparency: The output was probably flattened into JPEG. Re-export as PNG or recover the original object with a tool that handles masks.
- No image from command-line extraction: The visual may be vector artwork, an inline image your tool didn't inspect, or a composition built from several objects. Render the relevant page region instead.
- Unexpected duplicates: A PDF may reference the same image object on several pages. Compare hashes and dimensions before deleting duplicates.
- Wrong crop or orientation: PDF transforms and clipping paths can change how an object appears on the page. Compare the extracted file with its displayed bounds and preserve the page reference in your records.
Quality check: Compare the extracted dimensions with the inventory, open representative files, and inspect orientation, transparency, color, and aspect ratio.
The most important limitation is simple: extraction can avoid additional damage, but it can't improve a low-resolution source. A screenshot may also include text, backgrounds, captions, or page borders that were never part of the intended image. For legal, educational, and publishing workflows, keep the original PDF and record whether each output was natively extracted, decoded, or rendered.
Quick Answers to the Questions People Ask Next
Does extraction reduce image quality?
Not when the original compressed stream is copied directly. Quality can change when a lossy format is decoded and saved again, or when a page is rendered at a different resolution.
Can I extract images from a password-protected PDF?
If you're authorized to use the file, open it first with the appropriate password or permission, then run the extraction workflow.
Can I reuse an extracted image commercially?
That depends on the source document's copyright, license, and terms of use. The extraction tool doesn't grant reuse rights.
How do I extract one image from a long report?
Use page-range flags with pdfimages when it's an embedded object. For a scan or vector composition, render the target page and crop the region.
What's the fastest browser method?
Convert the PDF pages to JPG or PNG, then crop the page image if necessary. This is convenient when you need a visual copy rather than the original embedded asset.
PDFKing provides free browser-based PDF and file-conversion tools for extracting page images, cropping results, and handling related document tasks. Visit PDFKing to convert a PDF to JPG with no installation and no watermark.