ON THIS PAGE
Use Compress PDF now
Upload Files
You're ready to email a PDF, upload an application, or submit a presentation, and the file is too large. The quickest way to make file size smaller is to target embedded images first, choose a format and compression level suited to the content, then remove unnecessary pages, objects, and hidden data before exporting.
PDFs, photos, scans, and text documents don't shrink in the same way. A scan-heavy PDF may become dramatically smaller after image downsampling, while a text-and-vector PDF may have little removable data. The reliable approach is to diagnose the file, match the method to its contents, and verify that the result still meets your readability and delivery requirements.
Table of Contents
- How to Make File Size Smaller at a Glance
- Find What Is Making Your File So Large
- Reduce PDF Size Without Losing Readability
- Optimize Images and Choose the Right Format
- Trim Hidden Data Fonts and Metadata to Save More Space
- Hit Email and Portal Limits Every Time
How to Make File Size Smaller at a Glance
A file that misses an inbox or portal ceiling needs a targeted fix, not automatically the strongest compression setting. Start by locating the content that carries the most data. In oversized PDFs, that is often embedded photos, scans, screenshots, and other raster images. For a standalone image, changing the format may save more space than lowering quality repeatedly. Remove unused pages and duplicated graphics before exporting.
Use this sequence:
- Identify the file type and its largest components.
- Delete blank pages, duplicate content, and unnecessary objects.
- Resize or recompress images for the actual destination.
- Choose lossless or lossy compression based on quality needs.
- Export again, then check readability, searchability, and file size.
- Leave enough headroom below the email or portal limit.
Compression works differently across content types. PDF became an ISO standard as ISO 32000-1:2008 on July 1, 2008, and supports methods suited to different data, including Flate or Deflate for text streams, JPEG for images, and CCITT or JBIG2 for scanned and bilevel pages. The practical point is simple: reducing PDF size combines format choice, codec choice, and content-specific optimization. The history of PDF provides background on how that format ecosystem developed.
Lossless compression preserves the original data and visual quality. Lossy compression removes or simplifies information, often by downsampling or re-encoding images. It can produce a smaller file, but excessive compression may blur text in scans, soften photos, or damage graphics. Set the method according to the destination: screen reading, portal upload, printing, archiving, or later editing.
Practical rule: Find the content creating the file's weight before applying maximum compression.
A final check should confirm that the file remains readable, searchable when required, and comfortably below the delivery limit.
Find What Is Making Your File So Large
Before choosing a compressor, open the file and look at what it contains. A PDF with selectable text behaves differently from a PDF made by scanning every page. A presentation full of photographs needs a different fix from a contract with embedded fonts and vector logos.
Check the visible content first
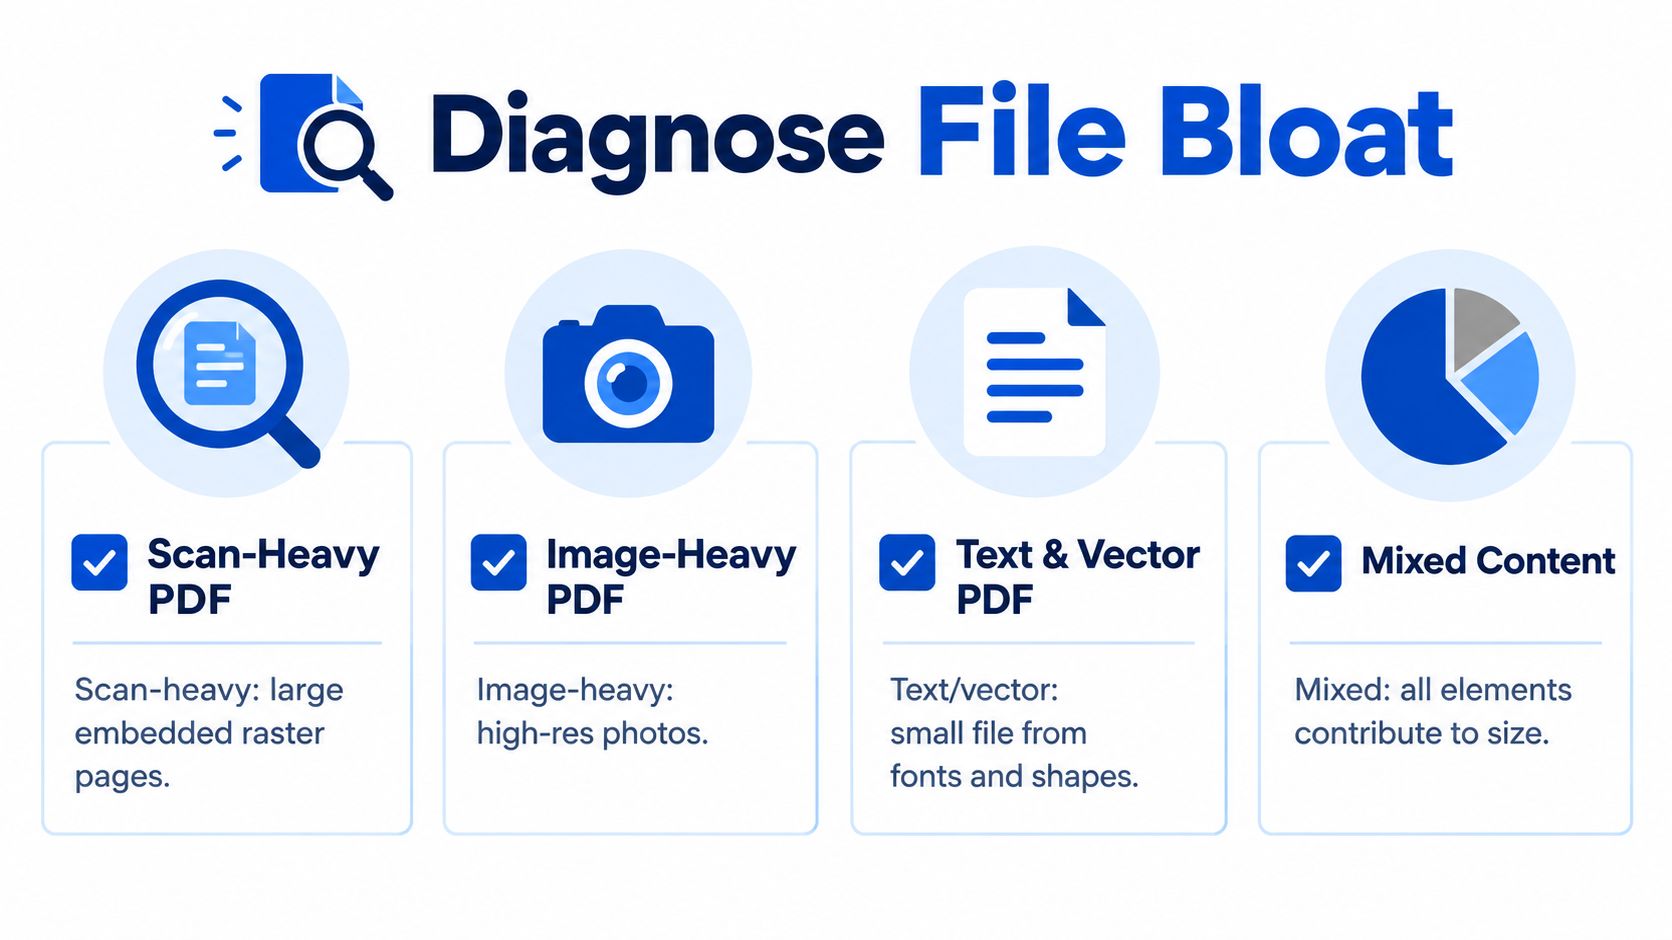
Use this quick audit:
- Scan-heavy PDF: Each page looks like a picture, and text may not be selectable. These files often contain one large raster image per page, making image data the main compression reservoir.
- Image-heavy PDF: Text is selectable, but the document includes large photos, screenshots, product images, or pasted artwork.
- Text and vector PDF: Most content consists of live text, lines, shapes, and vector illustrations. These files may already be relatively efficient and offer less room for reduction.
- Mixed-content PDF: Scans, photos, text, charts, and graphics all contribute. Test each category rather than applying one aggressive setting to everything.
The distinction predicts the likely result. Scan-heavy PDFs commonly shrink by 50% to 80%, and a file around 10 MB can sometimes be reduced to under 2 MB when high-resolution images dominate the content. These figures and the image-first workflow are documented in Adobe's guidance on compressing PDFs. Text-only or vector-heavy PDFs often have much less available reduction.
Look for non-image bloat
Images aren't the only source of excess size. Check for:
- Unused pages: Blank pages, draft pages, duplicated exhibits, and outdated appendices remain part of the exported file unless you remove them.
- Repeated graphics: A logo or background may be embedded separately on many pages instead of being handled efficiently.
- Oversized source images: A small image displayed on a page may still retain its original high-resolution data.
- Fonts: Documents that embed complete font families can carry more data than necessary, especially when only a few characters are used.
- Hidden objects: Off-canvas elements, hidden layers, comments, attachments, and editing remnants may survive export.
- Metadata: Author fields, thumbnails, editing information, and other document properties add data, although they're rarely the main cause of a very large scan.
If the file is mostly selectable text and simple shapes, don't waste time repeatedly compressing it with stronger settings. The result may barely change, and aggressive processing can create compatibility or rendering problems.
For a more detailed diagnostic checklist, see why a PDF can become so large. Once you know whether images, pages, fonts, or hidden objects dominate, you can choose a targeted fix instead of guessing.
Reduce PDF Size Without Losing Readability
When an email attachment or portal upload is rejected, shrinking everything at once is usually the wrong first move. Remove unnecessary content, identify the dominant file type, then apply compression that matches the document. This preserves readable text while targeting the data that consumes space.
1. Remove content before compressing
Delete blank pages, duplicate pages, unused covers, obsolete attachments, and outdated appendices. For a submission packet, verify the page order and confirm that every exhibit belongs in the final version.
This reduces the file without degrading the pages you keep. It helps most with long scans and photo-heavy presentations, where unnecessary pages may contain the same high-resolution data as the required pages.
Repeated graphics can also add weight. A logo or background may be embedded separately on many pages, while hidden layers, off-canvas objects, comments, attachments, and editing remnants can survive export. Metadata, thumbnails, and author fields usually contribute less, but they can still be removed when every megabyte matters.
2. Re-export from the source
If the original Word document, slide deck, design file, or scanning output is available, create a clean PDF from that source instead of compressing the same processed PDF repeatedly. Flattening or re-exporting can remove duplicated objects and unused production elements.
Select an export preset based on the destination. Print-quality output may retain more resolution than an email attachment or portal upload needs. Match the setting to the recipient's task: printing, zooming into fine detail, extracting text, or reading on a screen.
A text-heavy PDF with simple shapes may shrink very little through image compression. Repeatedly selecting stronger settings wastes time and can introduce rendering or compatibility problems.
3. Downsample only the images that need it
Scanned pages and photographs often provide the largest reduction because they store image data for every page. Lowering image resolution and applying suitable JPEG recompression can reduce the file while keeping ordinary text comfortable to read. 300 DPI print-quality content is often more than email or web upload requires, so choose a smaller resolution when the recipient will read on screen. Adobe's PDF compression guidance explains how to match resolution and recompression to the destination.
Use different settings for different content. Photographs often tolerate lossy compression, while a legal footnote, barcode, chart, or screenshot may need more detail. Logos and other sharp-edged graphics can develop ringing or blurred edges when compressed too aggressively.
Readability check: Zoom into small text, signatures, tables, charts, and scanned stamps. A smaller file is useful only if people can still read and use it.
4. Compress and verify the finished PDF
After pruning, re-exporting, and targeting the largest images, run the cleaned file through a browser-based PDF compressor. PDFKing's Compress PDF tool provides an online option with no installation for routine PDF operations.
For practical instructions on preserving legibility, see the PDFKing guide to reducing PDF size without losing quality. Test the output instead of choosing the strongest setting automatically. Scan-heavy files can shrink substantially, while text-only and vector-heavy PDFs may show little change. Published guidance places some text-heavy reductions around 20% to 35% or less, depending on the file.
Use this sequence:
- Delete blank and redundant pages.
- Re-export or flatten from the source.
- Downsample scans and photos.
- Recompress images that can tolerate it.
- Open the final PDF on a desktop and phone.
- Search for text when searchability matters.
- Inspect charts, logos, signatures, and small print.
- Confirm that forms, links, and page order still work.
Mixed PDFs can produce reductions from roughly 60% to 93%, depending on quality settings and content, while already optimized files may shrink only 0% to 5%. PDF compression benchmarks and workflow guidance shows why auditing the file should come before choosing a compression level.
If the result looks soft, return to the source and reduce only the images causing the bloat. If the file still exceeds an email or portal ceiling, split it into logical parts or remove material the recipient does not need. A targeted second pass is more dependable than repeatedly applying maximum compression.
Optimize Images and Choose the Right Format
Standalone images often inflate documents before you ever create a PDF. A photo copied from a camera or design export may contain far more detail than the page, email, or portal can display. Changing the format can produce a better result than lowering quality in the original format.
JPEG remains practical for photographs because it handles continuous color and complex detail efficiently. WebP often provides smaller files than equivalent JPEG images at similar visual quality, while AVIF can be smaller still for many photographic images. The format choice should follow the image, not fashion. Graphics with text, transparency, or sharp edges may need a different treatment from photos.
Use this format comparison
| Format | Typical Saving vs JPEG | Best Use Case |
|---|---|---|
| JPEG | Baseline | Photos, scans, and broad compatibility |
| WebP | 25% to 34% smaller at similar visual quality | Photos and web or document workflows that support WebP |
| AVIF | Roughly 50% smaller at comparable quality | Photographs where strong size reduction matters |
The figures in this table come from published 2026 image compression benchmarks. Those benchmarks also report tests in which AVIF reached around 91% compression on complex photo content compared with around 82% for JPEG, but results depend on the source image and settings.
Match compression to the visual material
Use lossless compression when the original data must remain intact. Logos, diagrams with small labels, screenshots of text, and images that will be edited again may need lossless handling or a conservative setting. Lossy compression is usually more effective for photographs, but inspect edges, faces, fine print, and gradients after conversion.
AVIF isn't automatically smaller in every situation. Images with complex transparency or graphics that were already well optimized in WebP can produce disappointing results after conversion. Compare both file size and visual quality for representative files instead of converting an entire folder blindly.
A useful workflow is:
- Photos: Test JPEG, WebP, or AVIF at a quality level that preserves important detail.
- Scanned pages: Use a resolution appropriate for reading and apply controlled JPEG compression when the PDF workflow supports it.
- Logos and text graphics: Keep edges crisp and avoid settings that introduce halos or fuzzy lettering.
- Transparent artwork: Compare WebP and AVIF because transparency can change the result.
- Images for embedding: Optimize before placing them into Word, slides, or a PDF.
For a browser-based way to test and reduce JPG, PNG, and WebP images, use the PDFKing image compressor. It's free, requires no installation, and doesn't add a watermark.
The best target isn't the smallest possible image. It's the smallest version that remains clear in its next use. A photograph attached to an email can usually accept more reduction than a chart used in a regulatory filing or a screenshot that someone must read at normal zoom.
Trim Hidden Data Fonts and Metadata to Save More Space
Once images are under control, cleanup can remove the smaller sources of excess data. These elements often don't dominate the file, but they can affect export size and may expose information you didn't intend to share.
Start in the source application. Remove hidden layers, off-page objects, unused master slides, comments, tracked changes, and duplicate placed images. In a design file, inspect linked and embedded assets. In a word-processing file, accept or remove revisions and delete comments before creating the final PDF.
Clean export data without changing visible content
Fonts deserve special attention. If a document uses only a small subset of a typeface, subsetting can avoid carrying unused characters. If a font is required for consistent rendering, don't remove it blindly. Replacing a font can change line breaks, page count, symbols, or accessibility.
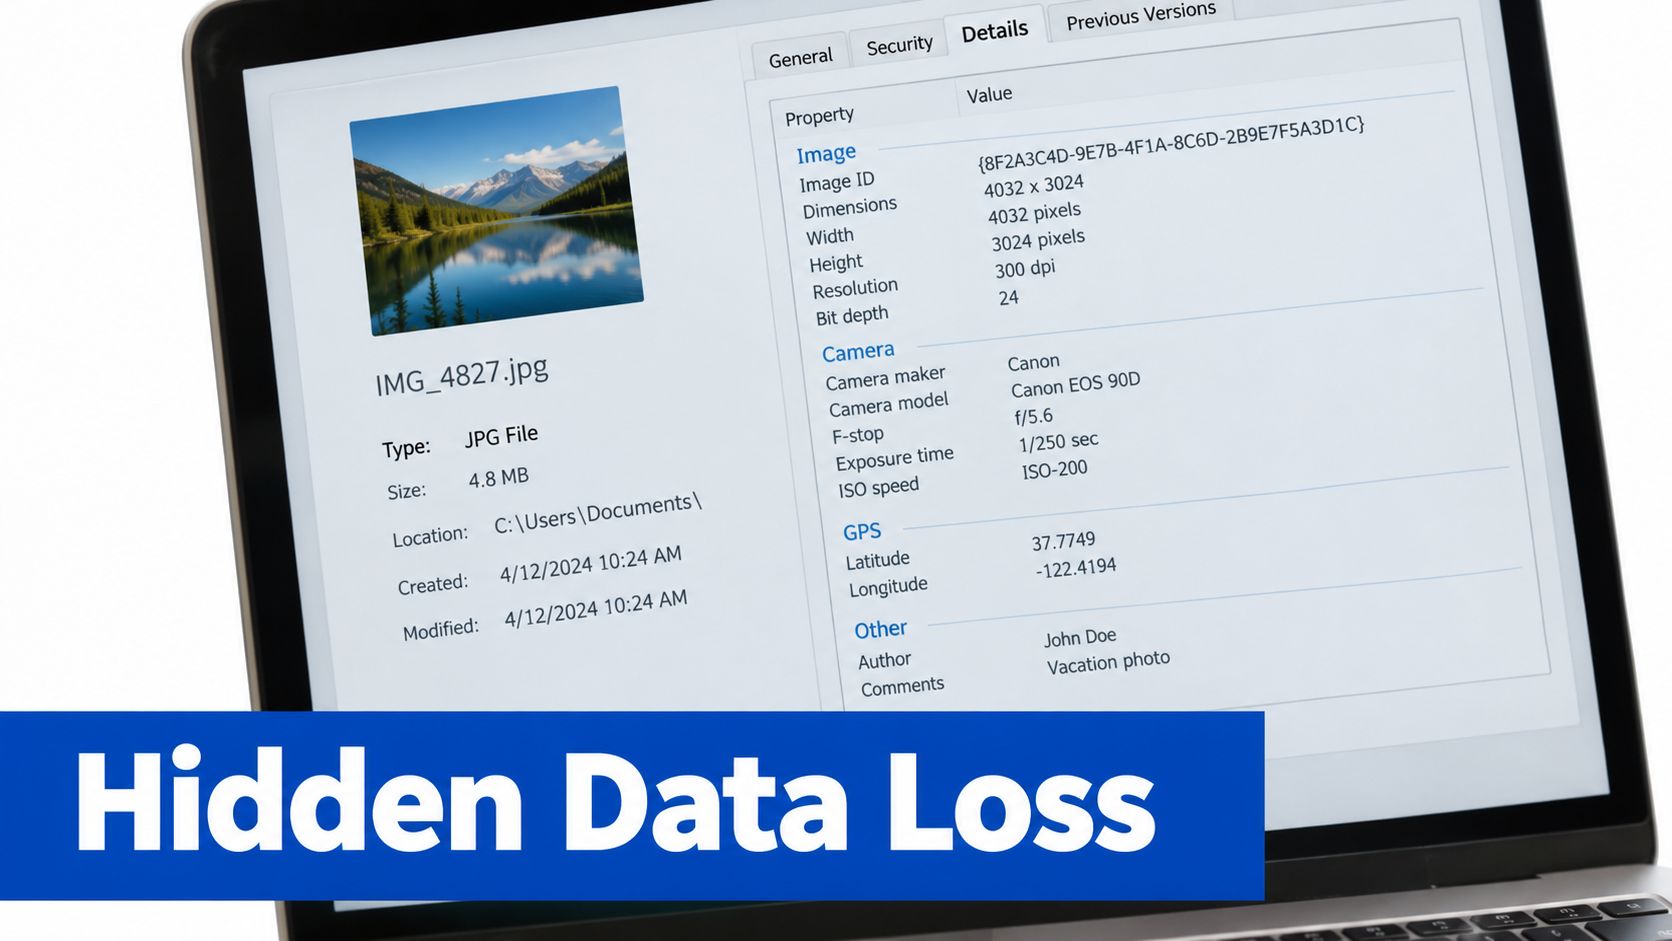
Metadata includes fields such as title, author, subject, keywords, and editing details. Removing unnecessary metadata generally doesn't affect how the page looks, but it can improve privacy and reduce small amounts of supporting data. If the file contains confidential author information or internal software details, review those fields before sharing.
Separate safe cleanup from quality reduction
Lossless cleanup includes deleting unused objects, removing redundant pages, simplifying document properties, and subsetting fonts when the output remains correct. Lossy processing includes reducing image resolution, changing image codecs, and lowering quality settings. Keep those decisions separate so you know what caused any visible change.
Use this pre-export checklist:
- Review pages: Delete blank, draft, and duplicate pages.
- Inspect layers: Hide or remove elements that aren't part of the final document.
- Check comments: Remove comments and tracked changes when they aren't needed.
- Review fonts: Subset or embed only what the document requires.
- Remove metadata: Clear unnecessary author and editing information.
- Replace oversized assets: Resize images before embedding them.
- Export once: Create a clean final PDF, then compress that copy.
For a focused privacy and cleanup workflow, see how to remove metadata from a PDF. Don't expect metadata removal alone to transform a scan-heavy file. Its main value is clean export hygiene, privacy control, and preventing small sources of bloat from carrying into every revision.
Hit Email and Portal Limits Every Time
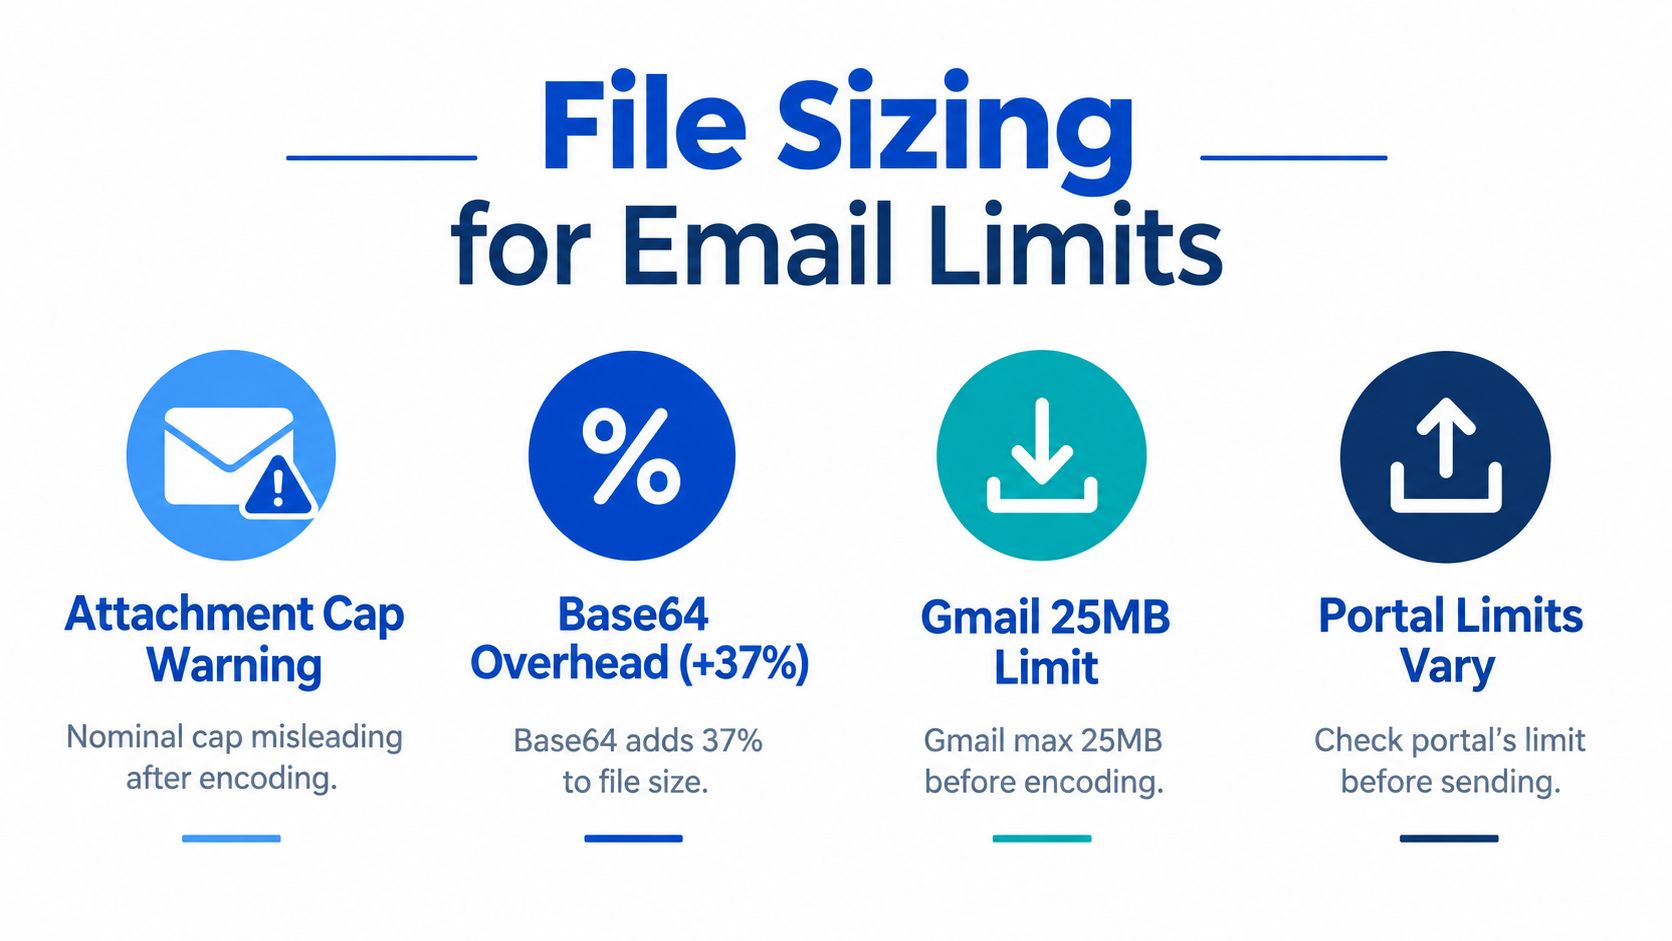
A file can appear to fit an attachment limit and still fail during delivery. Email systems encode attachments before sending, and Base64 encoding adds about 37% overhead, so the transmitted message can be much larger than the file shown in your file manager. Email attachment encoding guidance explains why the visible file size isn't the whole delivery calculation.
Gmail's commonly cited direct-send cap is 25 MB, but practical guidance often treats the usable space as roughly 18 MB to 19 MB after encoding and message overhead. Outlook.com is commonly 20 MB, and iCloud Mail is 20 MB unless Mail Drop is used. Enterprise Exchange limits vary by administrator policy and can be lower. A useful comparison of the 25 MB vs 50 MB Gmail limit also shows why you should check the recipient's account type rather than assume one Gmail limit applies to everyone.
Use a delivery-first checklist
Before sending or uploading, confirm:
- Recipient limit: Check the actual email provider or portal policy.
- Headroom: Aim clearly below the nominal cap instead of targeting the exact maximum.
- File contents: Keep text readable and preserve required pages.
- Transmission path: Remember that email encoding adds overhead.
- Fallback plan: Split the PDF or apply another image-focused pass if it still fails.
- Portal rules: Check whether the destination accepts PDF, JPEG, WebP, or another format.
For a practical workflow focused on attachments, see compressing files for email. If a PDF remains too large after compression, split it into logical sections, such as a main form and supporting exhibits. Then verify that each part opens correctly and has a clear filename.
Google Workspace Enterprise Plus raised direct Gmail attachments to 50 MB in February 2026, but that applies only to that specific tier, not to every Gmail user. The safest habit is still to create a file that clears the recipient's real limit with room to spare.
PDFKing provides free browser-based tools for compressing PDFs and handling common document tasks, with no installation and no watermark. When your file is too large for an email or portal, visit PDFKing, compress the cleaned document, and check the final pages before sending.
Frequently Asked Questions
What is the fastest way to make a PDF smaller?
Target embedded images first, especially in scan-heavy or photo-heavy PDFs. Remove blank and duplicate pages before compressing, then use a resolution and quality setting suited to screen viewing, email, or portal upload.
Can I reduce file size without losing quality?
Yes, if you use lossless cleanup such as removing unused pages, hidden objects, comments, and unnecessary metadata. Image downsampling and lossy recompression can reduce visual quality, so inspect small text, charts, logos, and signatures afterward.
Why does my text-only PDF barely shrink?
Text and vector-heavy PDFs contain less raster image data to reduce. These files may already be efficiently encoded, so deleting unnecessary objects, reviewing fonts, and removing unused pages may help more than stronger image compression.
Should I use JPEG, WebP, or AVIF?
Use JPEG as a practical choice for photos and scans when broad compatibility matters. WebP and AVIF can produce smaller files at similar visual quality, but compare the results because graphics with text or complex transparency may not benefit equally.
Why does an email reject a file below its attachment limit?
Email encoding adds about 37% overhead, and the message itself also consumes space. A file that appears below the provider's advertised limit can exceed the actual sendable size after encoding.
What should I do if compression still isn't enough?
Remove unnecessary pages and embedded objects, optimize the largest images, or split the PDF into logical parts. Don't keep lowering quality if the document becomes difficult to read.
Ready to try Compress PDF?
Shrink file size while keeping text and images sharp.